Routing your domain securely via Cloudflare
In this lesson you'll learn how to fully integrate Cloudflare with your Nginx server. We'll cover how to block direct access to your origin, enforce mutual TLS with Cloudflare using Authenticated Origin Pulls, replace self-signed certificates with Cloudflare-issued origin certificates, and configure Nginx to log the real visitor IPs.

Even though we currently have a domain set up on Cloudflare, our current configuration allows anyone on the Internet to access our HTTPS service directly, either by using the IP address of our server, or by guessing our origin host name.
This presents several challenges, primarily related to security and performance. For example, direct visitors will bypass any WAF (web application firewall) and caching rules configured on Cloudflare, including rate limiting and captcha challenges.
Allowing only Cloudflare traffic
There are multiple ways to lock our server down, to accept HTTPS traffic from Cloudflare only. For example, we can use the UFW firewall to block all HTTPS traffic except traffic coming from Cloudflare's IPs. While this is a viable option, it does require maintaining lists of IPs.
Another way is using Cloudflare's AOP (Authenticated Origin Pulls). This asks Cloudflare to present a client certificate while communicating with the origin server. If we can verify this certificate, we can be sure that the request is coming from Cloudflare.
Let's enable this option for our domain in the Cloudflare Dashboard under the SSL/TLS - Origin Server section:
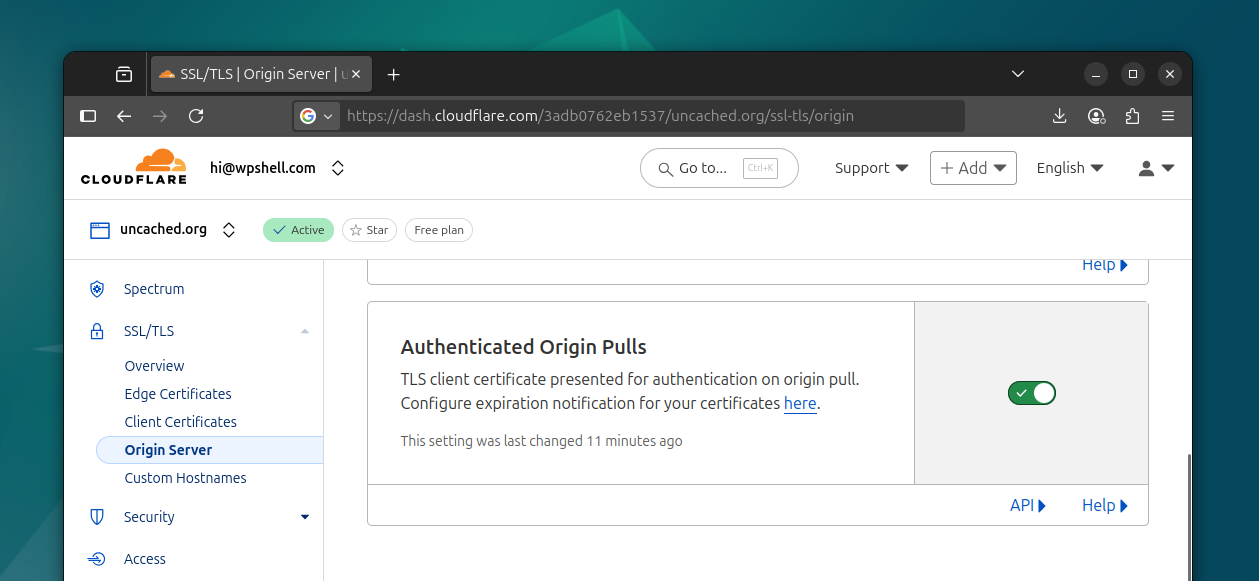
However, simply enabling it is not enough. We have to validate this certificate in Nginx.
Nginx configuration
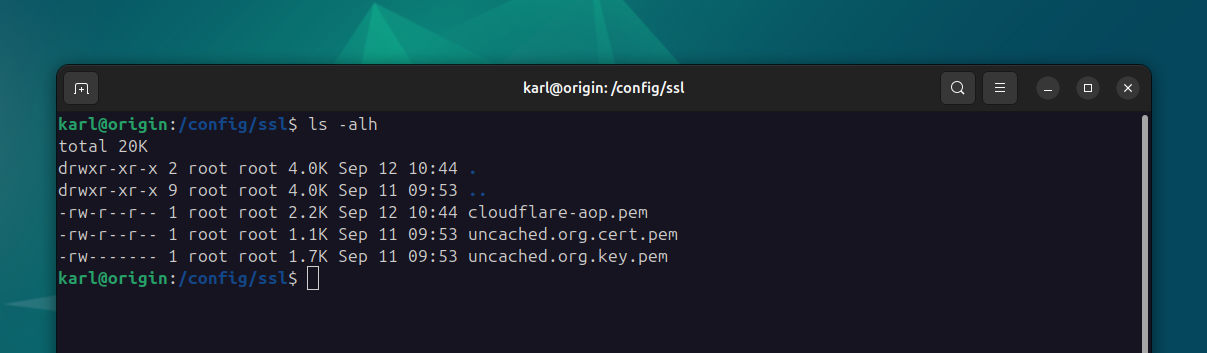
First let's download the Cloudflare AOP certificate and add it to our configs repository:
cd /config/ssl
sudo curl -o cloudflare-aop.pem https://developers.cloudflare.com/ssl/static/authenticated_origin_pull_ca.pem
Next, let's update our /config/nginx/uncached.org.conf file to verify the
client's request against this certificate inside our server block:
ssl_client_certificate /config/ssl/cloudflare-aop.pem;
ssl_verify_client on;
Save and reload your Nginx configuration:
sudo systemctl reload nginx.service
At this point, we should no longer be able to access our HTTPS service without presenting a client certificate. We can verify this using cURL locally:
curl -v --insecure -H "Host: uncached.org" https://127.0.0.1/test.php
This should now respond with a 400 error code, and a "No required SSL
certificate was sent" message.
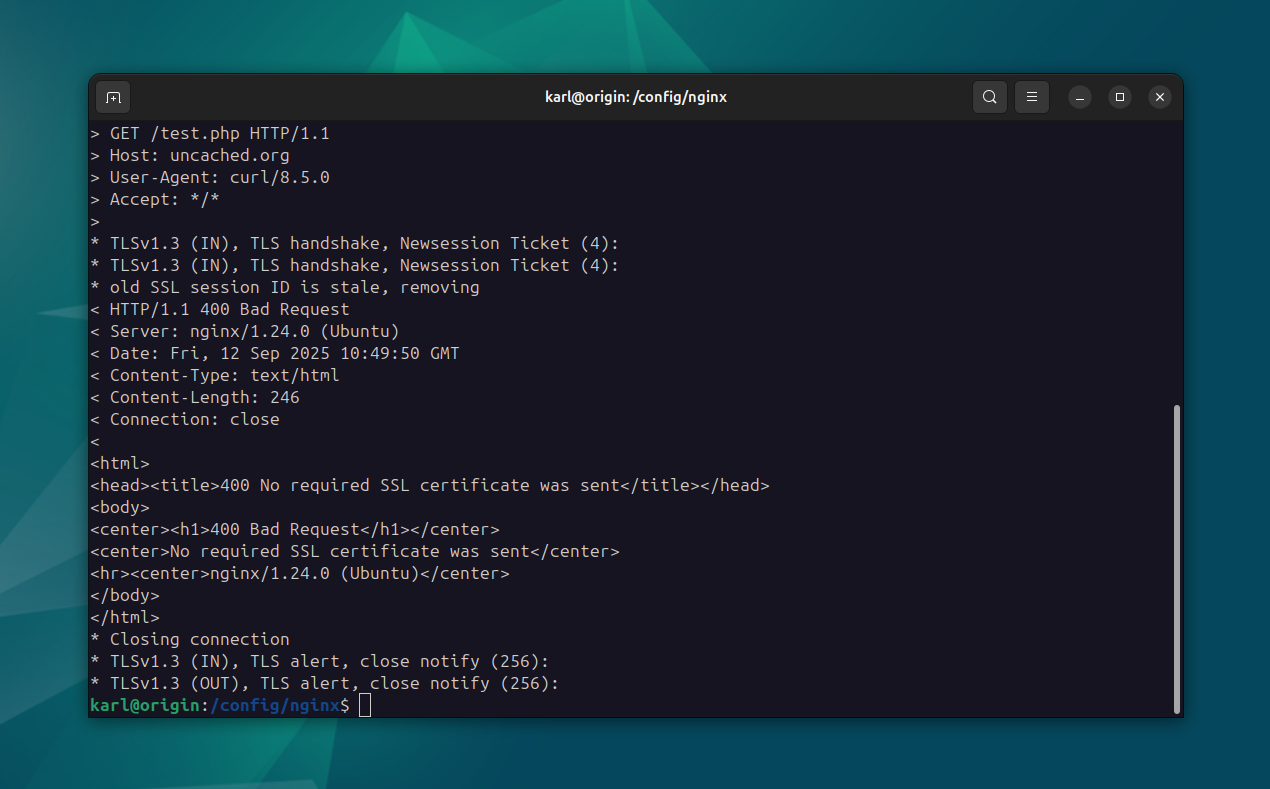
This is because we have not sent a client certificate at all. We can also make sure that the Cloudflare certificate is actually validated, by sending a request with a different client certificate instead.
If you still have your self-signed certificate and key lying around, you can test with those:
sudo curl \
    --cert /config/ssl/uncached.org.cert.pem \
    --key /config/ssl/uncached.org.key.pem \
    -v --insecure -H "Host: uncached.org" \
    https://127.0.0.1/test.php
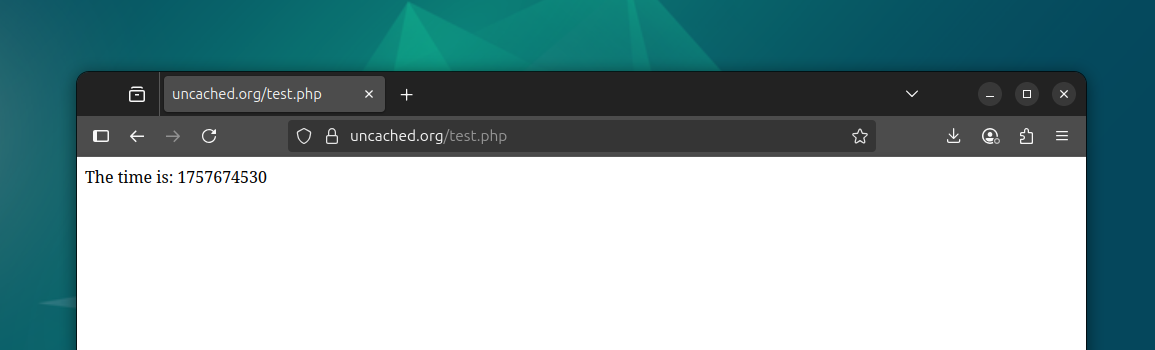
This will send the wrong client certificate to Nginx, and it should respond
with code 400 and a "SSL certificate error". Viewing the domain through
Cloudflare (in a browser for example) should still work just fine:
Now that we have a way to fully trust requests coming from Cloudflare, let's also make sure Cloudflare can fully trust responses coming from our server.
Origin certificates
Previously when we set up our first site in Nginx, we generated a self-signed certificate to serve over HTTPS. Let's now replace that certificate with one generated by and trusted by Cloudflare:
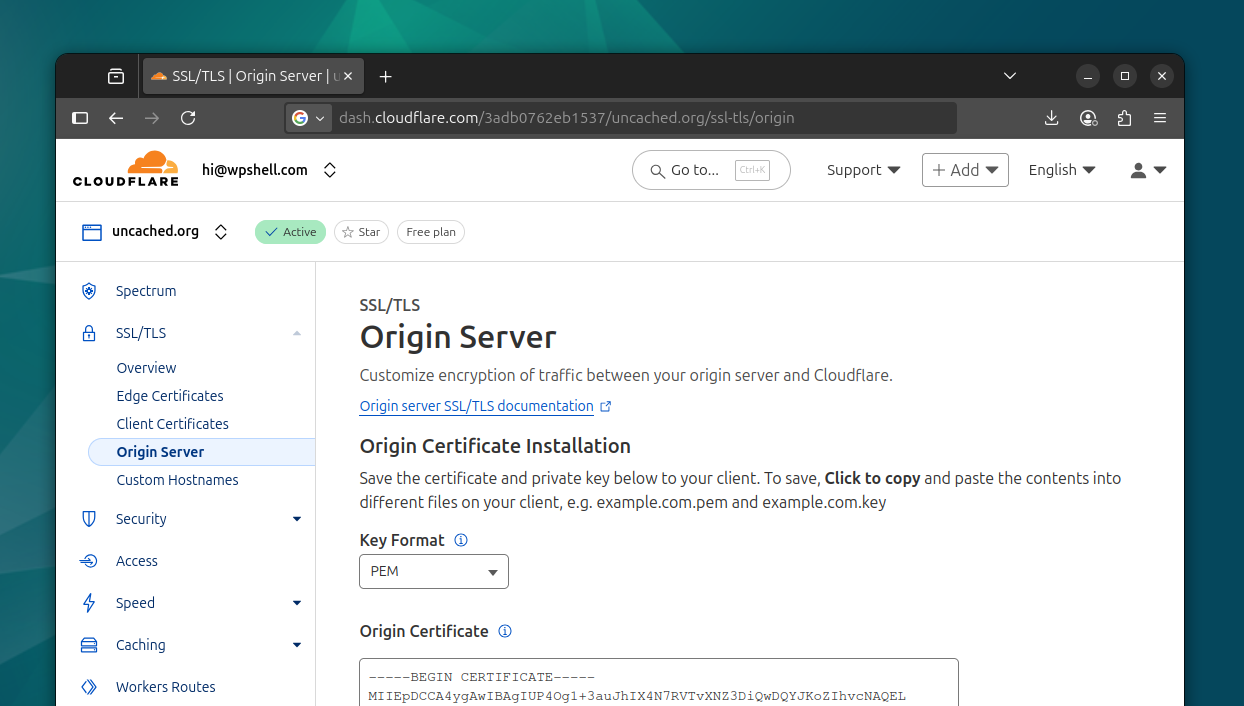
You can generate a new certificate in the SSL/TLS - Origin Server - Origin
Certificates - Create Certificate section in your Cloudflare dashboard. You'll
be able to select the host names to add to the certificate too. I've added
uncached.org and a wildcard *.uncached.org to mine, which covers
www.uncached.org and other subdomains I may wish to add in the future.
Copy the resulting Origin Certificate and Private Key to your server
configs, replacing the old self-signed ones. Mine are in
/config/ssl/uncached.org.cert.pem and /config/ssl/uncached.org.key.pem
respectively. Note that the permissions on the private key file should be 0600,
owned by root:
You can double-check your certificate contents (issuer, dates, etc.) with
openssl:
openssl x509 -in uncached.org.cert.pem -noout -text
Then reload your Nginx service using:
sudo systemctl reload nginx.service
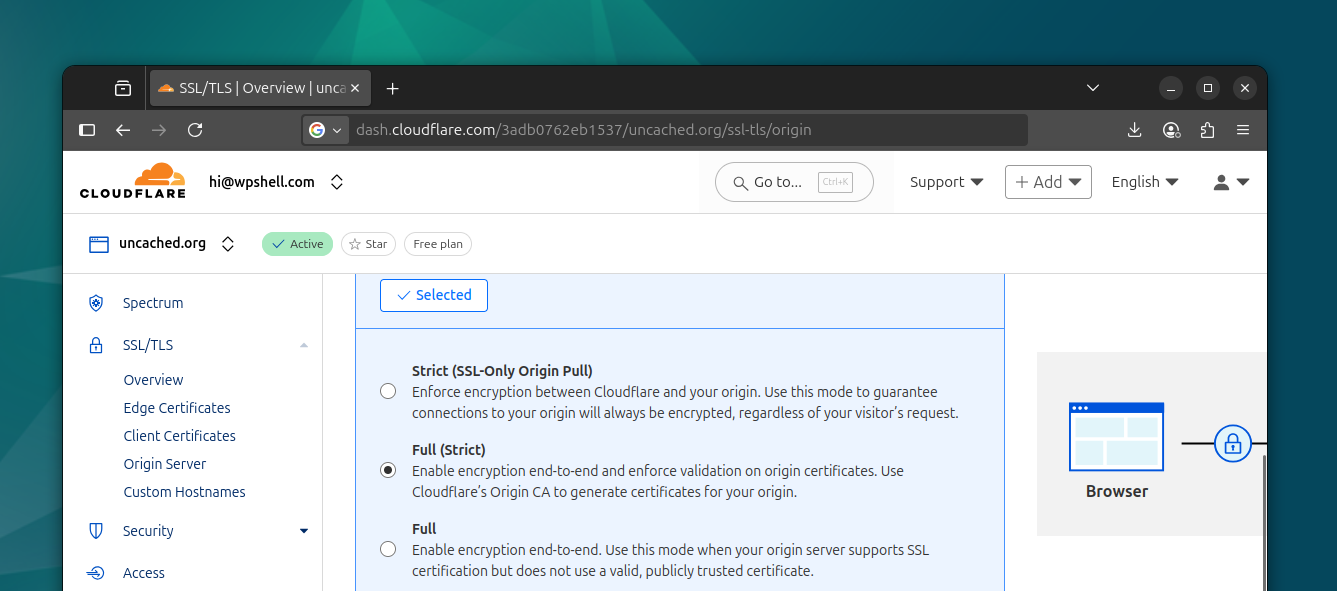
Now you should be able to update your Cloudflare SSL/TLS settings and set the encryption mode to Full (Strict). This option enforces validation of the newly generated origin certificates.
If you've done everything correctly, you should still be able to access your site via Cloudflare from a browser window.
HTTP to HTTPS redirect
Our Nginx server doesn't even listen on the insecure HTTP port, however with the default settings, Cloudflare will still attempt to send traffic to port 80 if the user requested an HTTP resource.
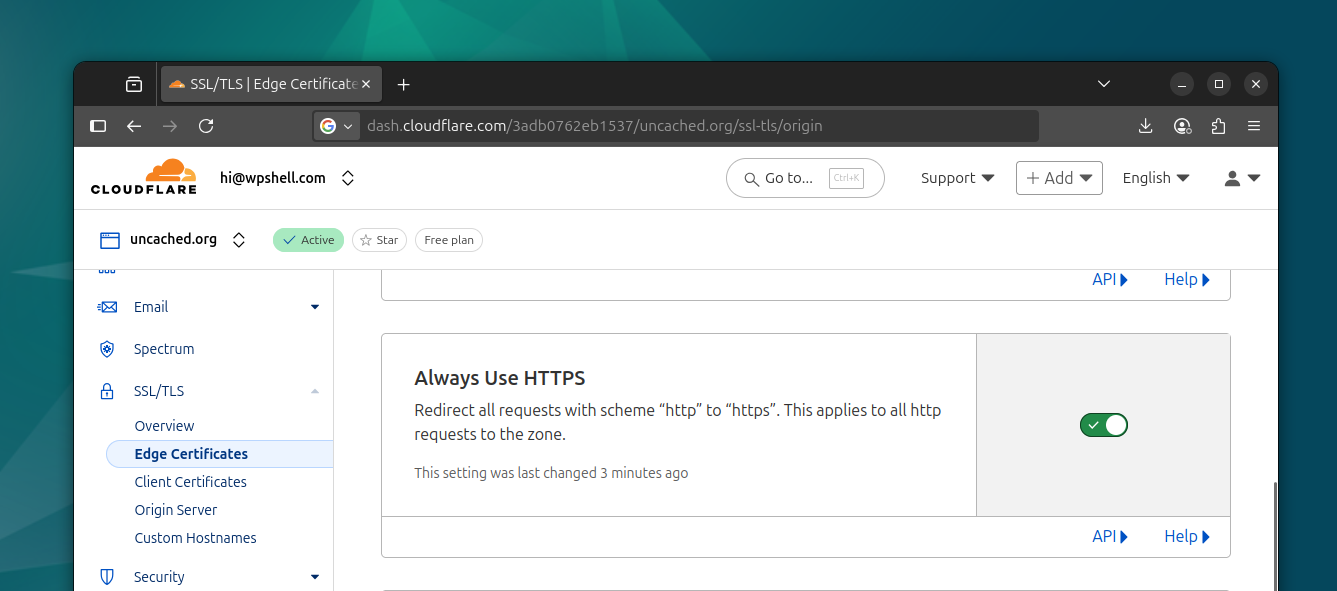
We can address this by redirecting all HTTP traffic to HTTPS at the edge. You can find this setting in SSL/TLS - Edge Certificates - Always Use HTTPS in the Cloudflare dashboard. You can optionally turn on HSTS there too and configure your TLS versions if needed.
Nginx Real-IP
Being behind Cloudflare, there's one last thing we need to resolve: visitors'
real IPs. If you look at your /var/log/nginx/access.log you will see traffic
coming from certain IP addresses. You can use whois to get more information
on those IPs and you'll soon find that all of them belong to Cloudflare.
This is not surprising, because all this traffic is indeed coming from Cloudflare. However, this will be a problem for any application security we implement going forward, including any audit and logging. We'll want the real end user's IP addresses for those purposes.
This is where Nginx's realip_module comes in. It allows us to set the client's IP address from a header, which is propagated down to logs, FastCGI (and PHP) requests and more.
Cloudflare sends us the visitor's IP address in a CF-Connecting-IP header.
Let's update our site configuration (mine is in
/config/nginx/uncached.org.conf) to include this in the server block:
set_real_ip_from 0.0.0.0/0;
real_ip_header CF-Connecting-IP;
The first directive tells Nginx that we can trust the real IP header from any source. We can only do this because we know that the only source for our traffic in this server block is Cloudflare, due to the AOP configuration we implemented earlier. Do not do this if you are not enforcing AOP, otherwise you allow anyone to spoof IPs.
The next directive tells Nginx which header to derive the IP address from. After saving your configuration and reloading your Nginx service, you should now see your ISP's or VPN IP address in the access log.
Reusable configuration
If you're planning to run multiple WordPress sites from the same dedicated or virtual server, you'll find yourself copying chunks of configuration for every site you configure. I encourage you to find reusable things in the configuration, especially in Nginx, and provide these as snippets you could include instead.
For example, the client certificate, client certificate verification and the
realip configuration for Cloudflare are not going to change, so you could move
them to a /config/nginx/cloudflare.conf and include that file inside the
server block to make it a bit cleaner.
This will also prevent you from making a mistake in a future configuration,
by leaving out ssl_verify_client for example, allowing non-Cloudflare
traffic through.