Installing Fail2Ban for SSH bruteforce protection
Exposing ports on the Internet will almost immediately attract bad actors. SSH is no exception. In this lesson we'll install Fail2Ban and ensure it's blocking failed SSH login attempts.

What is Fail2Ban?
Fail2Ban is an open-source intrusion prevention software framework. In simpler terms it's a program that reads log files on a server, and performs configured actions (such as adding a firewall block) when certain patterns are found.
This is handy for blocking brute force and dictionary attacks against services like SSH, MySQL and even WordPress authentication. It's also sometimes used to prevent common denial of service attacks against applications such as WordPress.
Out of the box Fail2Ban comes with existing configurations you can immediately use for SSH and other services. In this lesson we'll focus on SSH, and we'll update our configuration for other services as we install and configure them in future lessons.
Installing Fail2Ban
Fail2Ban is packaged for most popular Linux distributions, including Ubuntu and other Debian-based systems.
sudo apt update
sudo apt install fail2ban
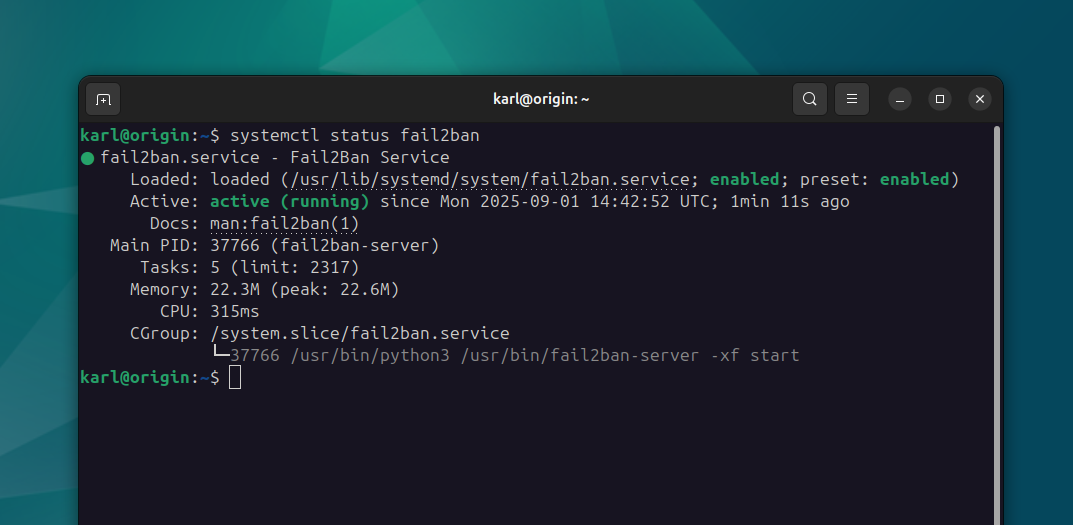
The fail2ban service will immediately start after installation. You can control
this service using systemctl:
sudo systemctl status fail2ban
The Fail2Ban configuration files are stored in the /etc/fail2ban directory,
where you will find jails, filters and actions.
A filter is a regular expression that typically looks for signs of
malicious behavior in log files. There are plenty of examples in the filter.d
directory, including sshd.conf which we will configure shortly. We'll also
create our own expressions in the WordPress security module.
An action determines what to do when a filter is triggered too many times. This can be adding a new local firewall rule to block the offending IP address, adding a WAF rule to block the bad actor, sending an email to the server administrator, or even automatically sending a complaint email to an abuse address listed in a WHOIS record.
The jail is what brings actions and filters together. It defines which filter to use, which log files to watch, how long the ban should last and more.
Configuring Fail2Ban
There is a default /etc/fail2ban/jail.conf file which you can explore to
better understand what is already available in Fail2Ban. However, you should
not edit this file as it may be changed in future updates. Instead, we'll
create an overlay configuration file in our server configuration repo and keep
our edits there:
cd /config
sudo mkdir misc/fail2ban
sudo touch misc/fail2ban/jail.conf
Let's make sure the file is symlinked to our /etc/fail2ban/jail.d directory.
Here's what I've added to my bin/symlinks.sh helper script:
ln -sfn /config/misc/fail2ban/jail.conf /etc/fail2ban/jail.d/jail.conf
Don't forget to run the script:
bin/symlinks.sh
Now that our jail configuration is under version control and symlinked, let's configure a specific jail and test it.
Fail2Ban SSH jail
The SSH jail already exists in Fail2Ban and it already knows which log file to watch and which filters to use to identify bad actors. Fail2Ban also has a default actions configuration, and may contain additional system-specific configurations based on your distribution.
For example, on Ubuntu 24.04 the jail.d/defaults-debian.conf file ensures
that the sshd jail is enabled, and sets the ban action to use nftables
instead of the default iptables.
Let's update our custom configuration in /config/misc/fail2ban/jail.conf to
set our own maxretry and bantime for the sshd jail, for some testing
purposes:
[sshd]
enabled = true
maxretry = 5
bantime = 60
Commit and push this change to the Git repository origin, and reload Fail2Ban using:
sudo systemctl reload fail2ban
You can use fail2ban-client status to check the current status of Fail2Ban,
which is very useful to see which jails are enabled:
sudo fail2ban-client status

Status
|- Number of jail:  1
`- Jail list:   sshd
The fail2ban-client program is also useful to manually ban and unban IP
addresses, though it's not very helpful if you lock yourself out as traffic to
existing SSH sessions will also be restricted during a ban.
Testing the SSH jail
You can open a new shell and try to login to your server using SSH, but don't use the correct 2FA code. This will generate a log message which will match one of Fail2Ban's filters. Do this multiple times, and your IP address will be blocked with a Connection refused error:
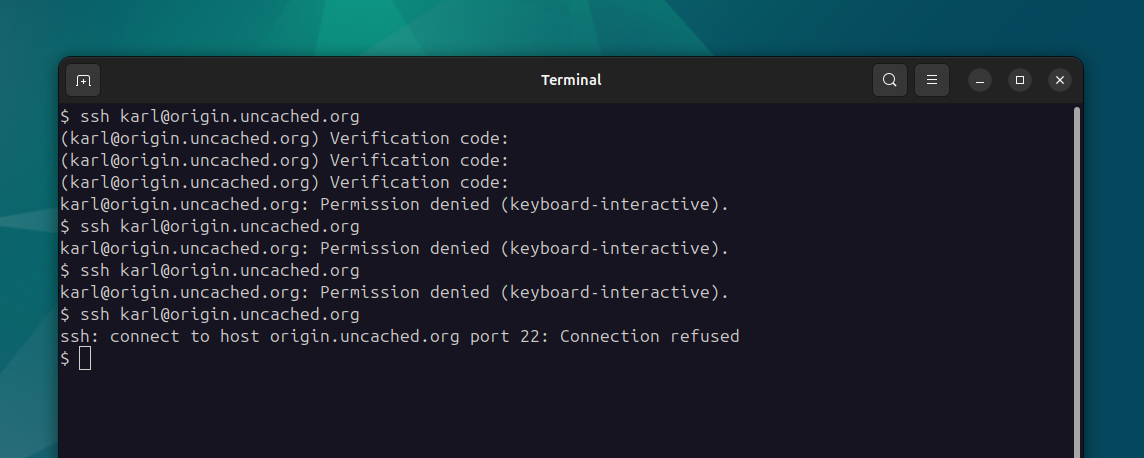
Don't worry, per our configuration, it is only blocked for 60 seconds, so you should be able to get back in. Also note that the Google Authenticator PAM will also rate limit the number of 2FA attempts and will fail the keyboard- interactive challenge immediately when you reach the configured threshold.
You can also try to login as root to trigger the ban since root logins via
SSH on our system are disabled.
After getting back in, you can look at what happened by observing the
fail2ban.log file:
sudo tail /var/log/fail2ban.log
SSH jail for production
After testing, don't forget to return the sshd Fail2Ban jail configuration to
more sensible values. Here are the values I typically use for SSH:
- Set
maxretryto 3 times - Set
findtimeto 10 minutes - Set
bantimeto at least 10 minutes
This lets you fail authentication three times in a 10 minute window. When I'm the only one with access to the system, I'll ramp up the ban time to an hour or more.
If you access your server from a static IP address, you can use ignoreip to
make sure you're never locked out:
[sshd]
enabled = true
maxretry = 3
bantime = 10m
findtime = 10m
ignoreip = <your static ip>
Don't forget to reload Fail2Ban after making changes:
sudo systemctl reload fail2ban
If you'd like to learn more about Fail2Ban, the official wiki is a good place to start. It is a simple but great tool to protect services against abuse and we'll be adding more configurations to Fail2Ban in the upcoming lessons.