Installing and securing phpMyAdmin
In this lesson you will install phpMyAdmin, set it up with a dedicated PHP-FPM pool and Nginx configuration, and secure it so that it is only reachable over an SSH tunnel.
This step is optional. You do not need phpMyAdmin or any other graphical or web-based UI to access your database. A MariaDB shell and the MariaDB/MySQL CLI tools are perfectly valid and preferred ways to carry out any admin-related tasks with your database.
phpMyAdmin
phpMyAdmin is a web interface for managing MySQL and MariaDB databases. It's convenient for browsing tables, exporting data and running SQL queries, without having to use a command-line interface.
This convenience comes at a cost. Similar to WordPress, phpMyAdmin is one of the most scanned-for and exploited applications on the Internet, with over 270 known vulnerabilities to date. This is why it's so important to keep your phpMyAdmin install up to date and secure.
Installing phpMyAdmin
Most Ubuntu and Debian distributions have an official package for phpmyadmin.
If your distribution comes with one, it is recommended to use that, as security
updates will be taken care of automatically, as long as your OS is supported.
If your OS does not provide a package for phpMyAdmin, you'll have to manually
download and update to the latest version from the phpMyAdmin
downloads page.
I'm running Ubuntu Linux, so I can use the OS-provided package:
sudo apt install phpmyadmin
Note that this will pull down about 50 or so new packages: required PHP extensions, some JavaScript libraries and other files. The installation will also try to be helpful by automatically configuring your web server and other things.
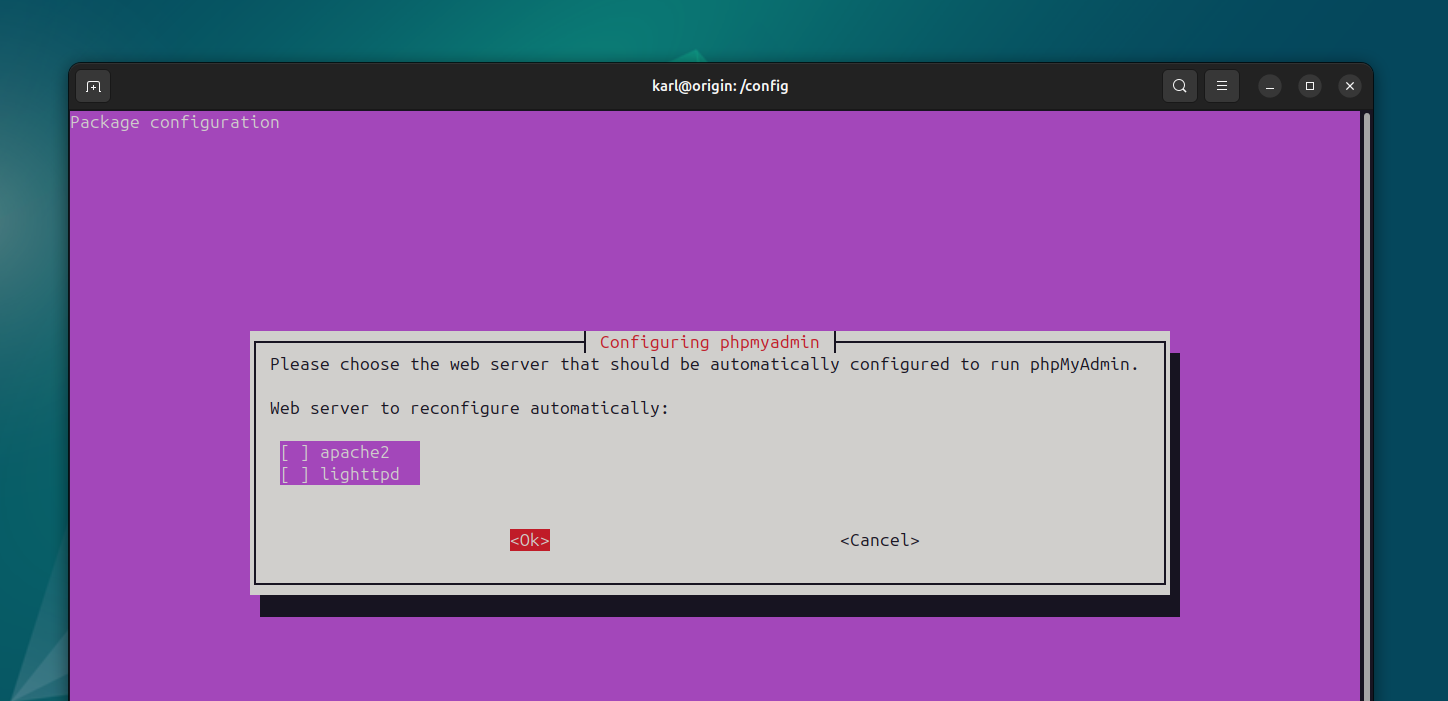
We do not need any of this help, and will be setting up secure access in our Nginx configuration manually.
Configuration
The installed phpmyadmin application files will be in /usr/share/phpmyadmin.
Some of the dependencies will be in /usr/share and the phpMyAdmin configuration
files will be placed in /etc/phpmyadmin if you installed the OS package.
The default configuration is usually fine, but if you need anything extra, you
can add new PHP files to /etc/phpmyadmin/conf.d and phpMyAdmin will load
them automatically when reading its configuration.
PHP and Nginx configuration
To run phpMyAdmin securely, we'll need a PHP-FPM pool, separate from our
WordPress sites. I'll create a new /config/php/phpmyadmin.conf file for this
with the following contents:
[phpmyadmin]
user = www-data
group = www-data
chdir = /usr/share/phpmyadmin

listen = /var/run/phpmyadmin.sock
listen.owner = www-data
listen.group = www-data

pm = ondemand
pm.max_children = 4

php_admin_value[open_basedir] = /usr/share:/etc/phpmyadmin:/tmp
php_admin_value[memory_limit] = 512M
This is quite similar to pools we configured earlier for WordPress sites, but
we place the socket file to /var/run/phpmyadmin.sock, as well as grant access
paths our WordPress sites should never have access to: /usr/share and
/etc/phpmyadmin.
I've also added a memory limit of 512M, but if you're planning to run big imports and exports, you might need to increase that.
My Nginx configuration for phpMyAdmin lives in /config/nginx/phpmyadmin.conf:
server {
    listen 127.0.0.1:8080 default_server;
    server_name _;

    root /usr/share/phpmyadmin;
    index index.php;

    location ~ /\. {
        deny all;
    }

    location ~ \.php$ {
        include snippets/fastcgi-php.conf;
        fastcgi_pass unix:/var/run/phpmyadmin.sock;
    }
}
I have a new server block here, listening locally (on 127.0.0.1 only) and
the port 8080. I also set this as the default server block for this IP and
port, so I can omit any server_name matching.
Next, I set the root to the /usr/share/phpmyadmin directory, where the
application files are, and default to index.php. I also added the dot-files
deny block, and pass all PHP requests to the PHP socket in
/var/run/phpmyadmin.sock.
This article is for premium members only. One-time payment of $196 unlocks lifetime access to all existing and future content on wpshell.com, and many other perks.