Configuring Postfix relay for third-party SMTP
In this lesson you will configure Postfix as a relay-only MSA. It will accept messages from WordPress and other local applications, queue them, and relay to your third-party SMTP service.
Postfix
Postfix is an open source mail server that's very fast, lightweight and feature rich. It can send email, receive email, relay messages, authenticate, sign, store, filter, provide access and much more.
In this course however, we'll only use Postfix to accept messages from WordPress and other local applications, and relay them to our trusted third-party SMTP service.
Installing Postfix
Some VPS and dedicated server providers pre-install Postfix in Ubuntu and other
Debian-based images. If yours does not have Postfix installed, you can get it
from the official OS packages using apt:
sudo apt install postfix
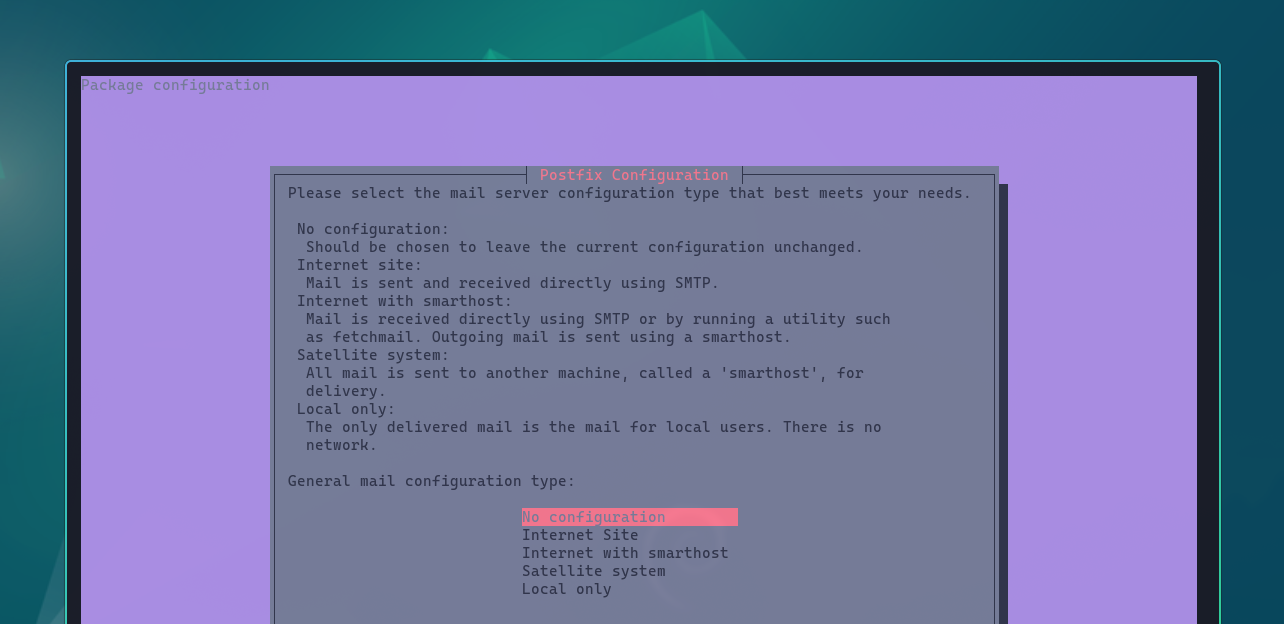
You may be asked the type of mail server configuration you'd like when installing Postfix. You can select No configuration as we will be creating a custom one shortly.
Config files
Most of the Postfix configuration lives in /etc/postfix. Let's move some of it
out into our /config repository, so we can keep them under version control:
sudo mkdir /config/postfix
sudo mv /etc/postfix/main.cf /config/postfix/main.cf
sudo mv /etc/postfix/master.cf /config/postfix/master.cf
Add them to your repository, and don't forget to symlink them back:
sudo ln -sfn /config/postfix/main.cf /etc/postfix/main.cf
sudo ln -sfn /config/postfix/master.cf /etc/postfix/master.cf
While our firewall will already block external access to any ports Postfix might
open to receive email, it's generally a good idea to completely disable SMTP, as
well as submission services in the master.cf file by commenting them out:
# smtp       inet n - y - - smtpd
# submission inet n - y - - smtpd
Restart Postfix with systemctl:
sudo systemctl restart postfix.service
You can verify Postfix is not listening on any ports using netstat:
sudo netstat -lntup
Watch for processes listening on ports 25 and 587, there should be none.
Relay
Next, let's update our main.cf file for our relay and general Postfix
configuration. Here's the full contents of my file:
myorigin = uncached.org
mydestination =
relayhost = [email-smtp.us-west-1.amazonaws.com]:587

smtp_tls_security_level = encrypt
smtp_tls_CApath=/etc/ssl/certs

smtp_sasl_auth_enable = yes
smtp_sasl_password_maps = hash:/config/postfix/sasl_passwd
smtp_sasl_security_options = noanonymous
authorized_submit_users = root, karl, www-data
Here's a quick overview of these settings:
myoriginis the default sending domain. You can still override this by providing a different sender identity.mydestinationdetermines domains which Postfix will treat as local. We don't want any local mail, so this is empty.relayhosttells Postfix to use this host instead of delivering directly.smtp_tls_security_levelrequires encryption for the SMTP client.smtp_tls_CApathis the system directory with CA certificates.smtp_sasl_auth_enableenables SASL authentication for Postfix.smtp_sasl_password_mapspoints to the place where SASL credentials live.smtp_sasl_security_optionsdisallows anonymous mechanisms.authorized_submit_usersis the list of users who are allowed to submit mail.
You can find the full list of configuration options
here along with their defaults. The
above configuration is for the STARTTLS variation. If you're using a TLS
wrapper (SMTPS) instead of STARTTLS, you'll need to enable
smtp_tls_wrappermode.
Credentials
As you may have guessed from the config, the relay credentials are stored in a
hash database called sasl_passwd. Let's create this database and make sure
nobody except root can read it:
This article is for premium members only. One-time payment of $196 unlocks lifetime access to all existing and future content on wpshell.com, and many other perks.