Two-factor authentication for SSH
While SSH keys are generally secure, it is highly recommended to add another authentication factor to critical systems. In this lesson we'll set up two-factor authentication using the Google Authenticator PAM module.

If you're new to two-factor authentication (2FA), this Wikipedia article is a great place to learn more about it. This is an optional step in our course, but highly recommended if you're building a WordPress server for production sites and not just testing the waters.
In general, SSH keys are quite secure, especially when protected by a passphrase. However, it is not impossible for a key to get stolen and its passphrase cracked, and two-factor adds an extra layer of protection.
You'll need an application to store your two-factor secret and generate the one-time codes. If you're using a password manager (and you should be), then there is likely one built in. I personally use 1Password which supports MFA. KeePassXC is a good free, open-source, and cross-platform alternative.
For mobile devices, Google Authenticator is a great option and is available for Android and iPhone.
Installing the Google Authenticator PAM module
A pluggable authentication module (or PAM)
is a layer in Linux that handles logins and privilege checks for most programs
like sshd, sudo and others. The Google Authenticator PAM implements
two-factor authentication, which can be used by these programs.
Note that regardless of the similarity in naming, this module implements the widely used HMAC-based OTP algorithm and does not require the Google Authenticator mobile application.
In Ubuntu and other Debian-based systems, this PAM is available as an official package:
sudo apt install libpam-google-authenticator
Next, we'll need to enable it for the SSH PAM flow. This can be done by
updating the /etc/pam.d/sshd file. To keep this file under version control,
let's first bring it into our configs repository:
sudo mv /etc/pam.d/sshd /config/misc/sshd.pam.conf
sudo ln -s /config/misc/sshd.pam.conf /etc/pam.d/sshd

cd /config
sudo git add misc/sshd.pam.conf
sudo git commit -m "Add sshd.pam.conf"
sudo -E git push
Don't forget to add the new symlink to your symlinks.sh file!
The /config/misc/sshd.pam.conf contains the entire PAM stack for when the
SSH service invokes it. It is interpreted from top to bottom and
includes standard password authentication. Since we do not want to allow
password authentication for our SSH user, we'll need to short-circuit the
entire stack at the top above all other directives.
Here's what the short-circuit looks like (don't forget to use sudo when editing
this file):
# Google Authenticator
auth sufficient pam_google_authenticator.so
auth requisite pam_deny.so
The first directive calls for an OTP and succeeds authentication immediately if the OTP is correct. The next line fails authentication immediately and blocks everything else from running in this file. We do this to prevent PAM from asking for a user password if the OTP fails.
Next, let's update our /config/misc/sshd.conf file to require PAM for
authentication and enable keyboard interactive input. We can do this by using
the AuthenticationMethods and KbdInteractiveAuthentication (sometimes
ChallengeResponseAuthentication in older versions) directives:
AuthenticationMethods publickey,keyboard-interactive:pam
KbdInteractiveAuthentication yes
Let's commit these changes to our config repository:
sudo git add misc/sshd.pam.conf misc/sshd.conf
sudo git commit -m "Enable Google Authenticator PAM"
sudo -E git push
It is advised to restart the SSH service at this point:
sudo systemctl restart ssh
Don't rush logging out of the shell—open a new window or tab instead just in case you get locked out.
Configuring authentication
Now as our non-root user we can create a configuration for this module using
the google-authenticator command:
google-authenticator
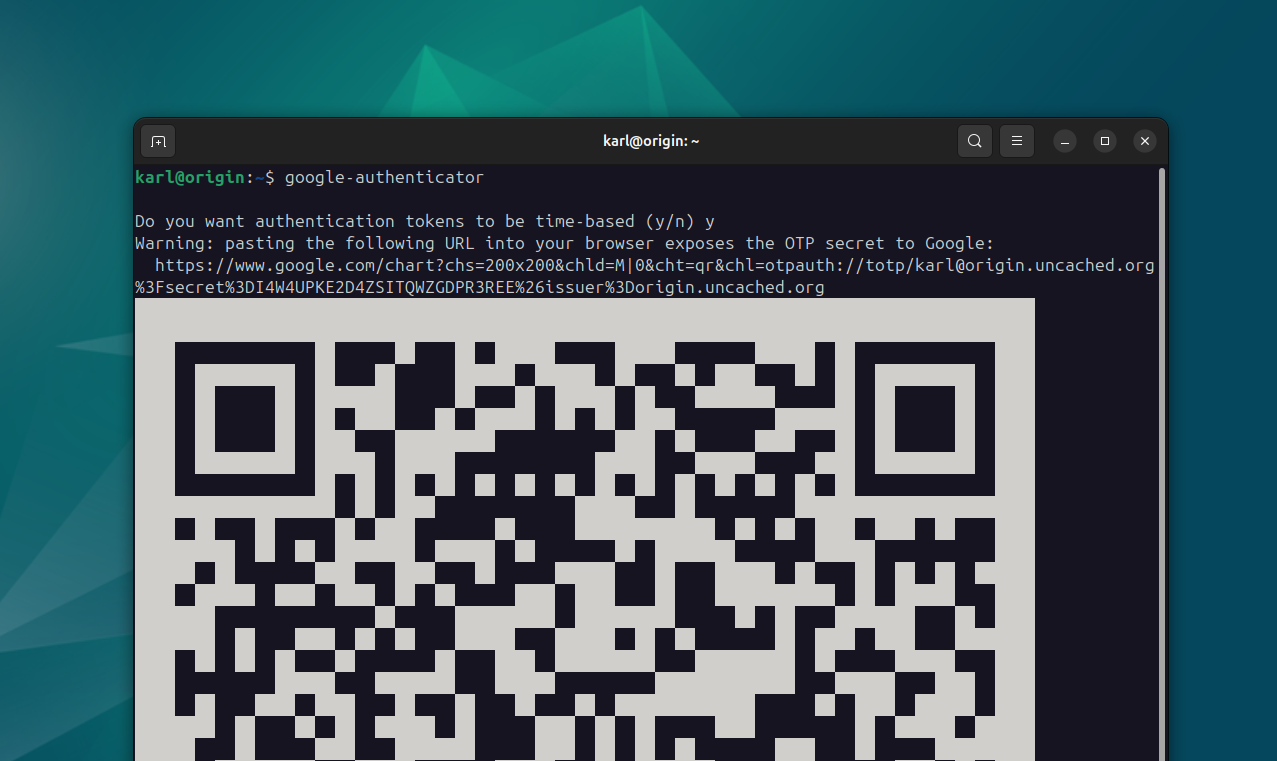
You'll see a QR code in the terminal, a chart link to view it in a browser, as well as the raw secret key at the bottom of the output. You can use any of these to add this key to your password manager or authenticator app.
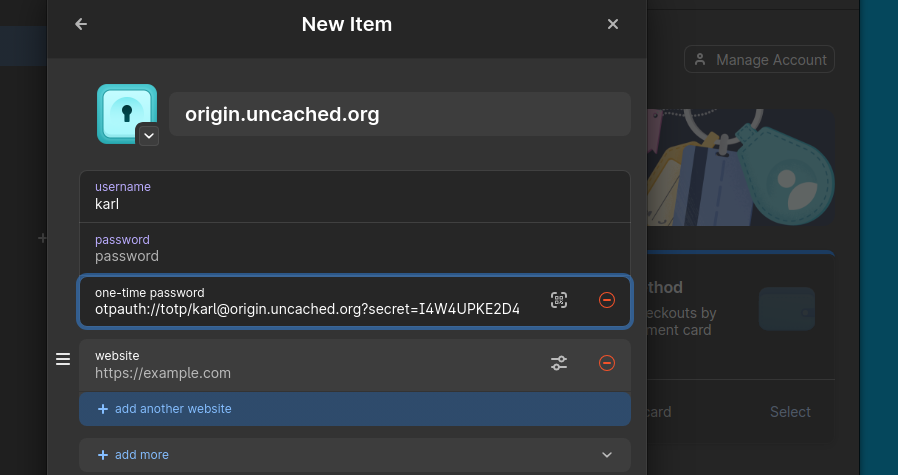
Most password managers will accept the secret key as the input for OTP setup,
but you can also copy the full spec from the chart link. It starts with
otpauth:// and contains some information about the issuer in addition to the
raw secret key. After adding this to your authenticator app or password manager,
you'll need to generate a one-time code to proceed with the PAM configuration.
You'll be asked some configuration questions. I usually answer yes to all. Make
sure that the .google_authenticator file for the current user is updated during
this process.
You will also be presented with a list of emergency single-use codes—store these in a safe location.
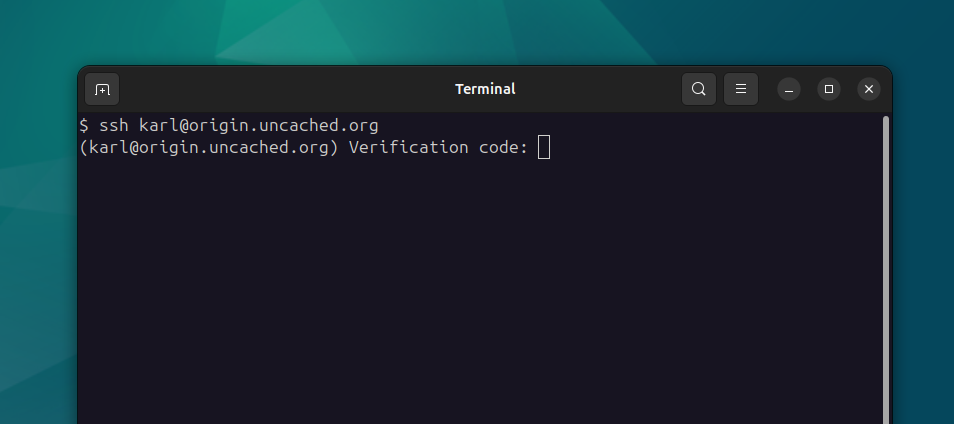
Testing authentication
Do not close your current SSH session. This will allow you to recover if you get locked out. Instead, use a new Terminal tab or window to try and log in. You should be presented with the OTP challenge.
To make sure everything is working correctly, you should try some things that should not work:
- Login as
root - Login without an SSH key (use
env -i bashto get a shell without your SSH agent) - Enter the wrong OTP code
You can also watch /var/log/auth.log to see what's going on in real time and
get some clues if things aren't working the way you're expecting. If you need
to reset your OTP authentication secret, run google-authenticator again.
The secret (and emergency codes) are stored in the .google_authenticator file
in the user's home directory. Make sure this file is kept safe and is not
world-readable/writable. Given its permission requirements, sensitivity, and
dynamic nature, I do not recommend adding it to version control.